

Olena Mockup Guide
Simple guide to using our Olena Mockup Guide
The fundamentals
Intro
Here’s a step-by-step tutorial on how to use Photoshop to change the image of a mobile device mockup using smart objects:
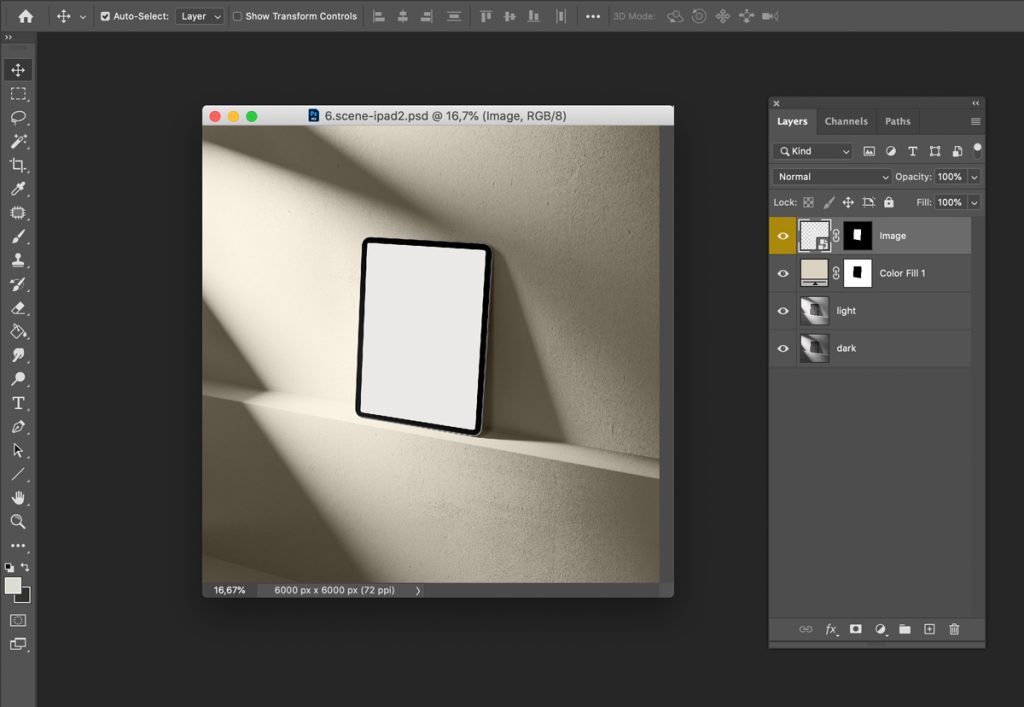
Step 1: Open the Mockup and Smart Object
Open the mockup file that you want to edit in Photoshop. Look for the smart object layer that corresponds to the mobile device screen. Double-click on the smart object layer to open it in a new window.
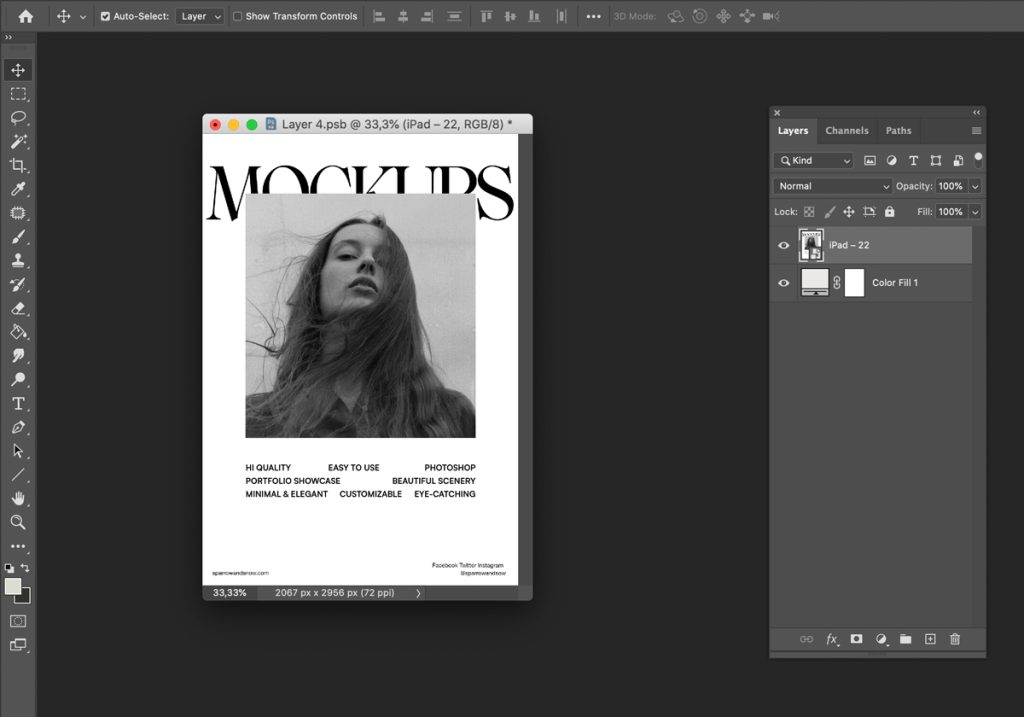
Step 2: Edit the Smart Object
In the new window that opened, you will see the smart object layer with the current image on the mobile device screen. Replace this image with the one you want to use. You can do this by pasting the new image onto the smart object layer, or by dragging and dropping the new image from your computer into the smart object window. Once you have replaced the old image with the new one, save and close the smart object window.
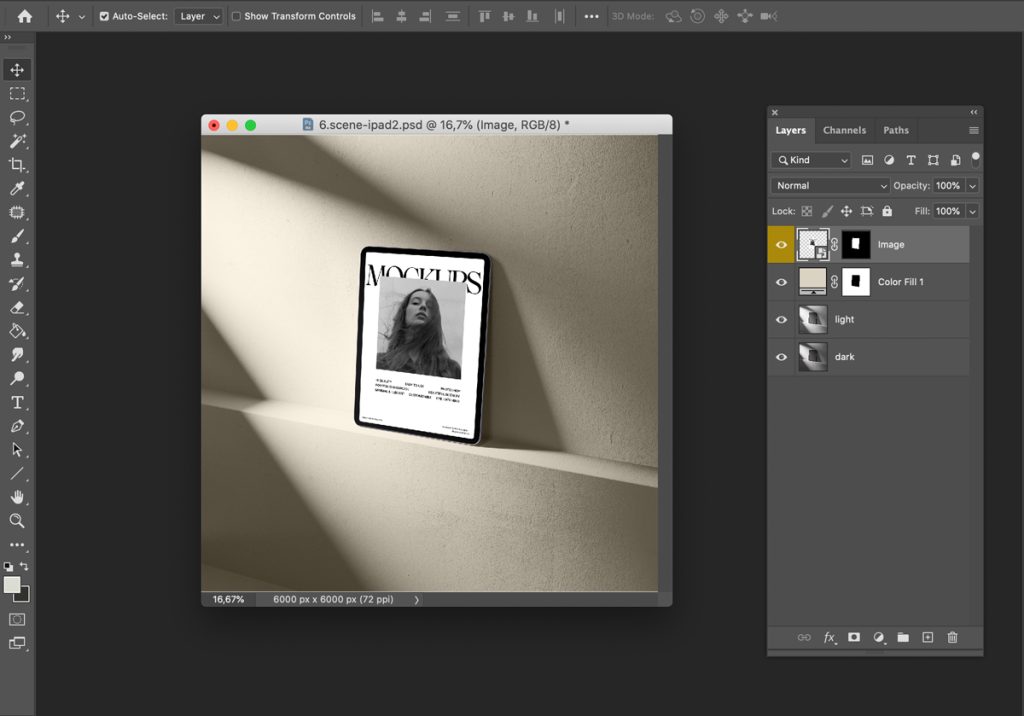
Step 3: Update the Mockup
After you have closed the smart object window, you will notice that the mockup has been updated with the new image you inserted. If you need to adjust the size or position of the new image to fit the screen of the mobile device, you can do this by selecting the smart object layer in the Layers panel and using the Transform tools (Ctrl/Cmd+T) to resize and move the image.
Step 4: Save and Export the Final Image
Once you are satisfied with the changes you have made to the mockup, save your work and export the final image as needed. To save your work, go to File > Save or use the shortcut Ctrl/Cmd+S. To export the final image, go to File > Export > Export As or use the shortcut Ctrl/Cmd+Shift+E. Choose the format and quality settings that you want, then click Export to save the file to your computer.
That’s it! With these steps, you should now be able to easily replace the image of a mobile device mockup using smart objects in Photoshop.