For years we have been using several newsletters software, with the frustration that the design was limited to the program’s page builder. It was impossible for us to manage the details and therefore — given the complexity of matching the aesthetic result with the image of our brand — we were never satisfied with it.
We realized that the biggest and most popular brands are using jpegs in their newsletters (instead of HTML) to present their business. Having experienced it ourselves, we are now ready to tell you that this method will change your life as well 🙂
⭐ How to divide a newsletter into sections with a free online tool
If you want to cut the newsletter into several parts to be able to link different links, we suggest you use this free online tool splitter (upgrade 2022).
We have created a video tutorial that explains how to divide your layout created with CANVA or adobe XD.
Customize and export with XD
Before starting to describe the basic steps to use and customize our Newsletter Templates, we want to remind you that Adobe XD is free and according to our experience it is the best solution in terms of speed and freedom in customization (Adobe is not paying us to advertise their product, we are simply in love with its versatility). With our guide, everything will be easier!
To start we have created a summary video that explains the division of sections and the export, but we advise you to continue the written tutorial to understand the process in detail.
INSTALLING REQUIRED FONTS
To get started, install on your computer the fonts required by the links linked in the pdf guide collocated in the folder.
CUSTOMIZING COLORS
To change the color to the background, to the elements or to the buttons it will be enough to select the element and on the right sidebar, you will see the color palette from which to select the colors.
CUSTOMIZING TEXTS
Select the text and from the right sidebar, you can change the font color and style.
CUSTOMIZING IMAGES
To replace the images, simply drag them over the image replacement space or over a shape and they will adapt to it.
To replace the images, simply drag them over the box or over a shape and they will adapt to it. Then, by double-clicking on the image, you can move or zoom it.
Make sure that your image has a minimum width of 1440px, this to be well-displayed on retina devices.
SECTION LAYOUT DIVISION
The images and buttons must be linked to a link and for this reason, we must divide and cut out the sections of our newsletter. Let’s see how:
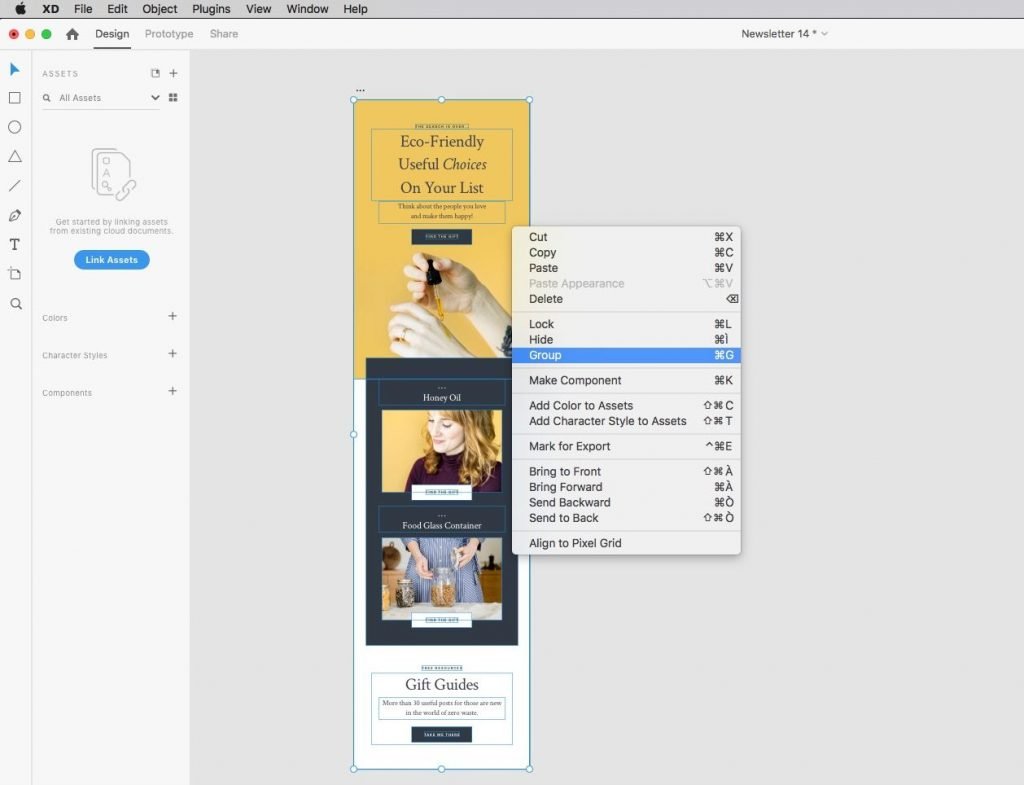
Once you have completed the newsletter with your colors, images, and texts, select the entire layout and click the right button, group it by selecting the “Group” item.
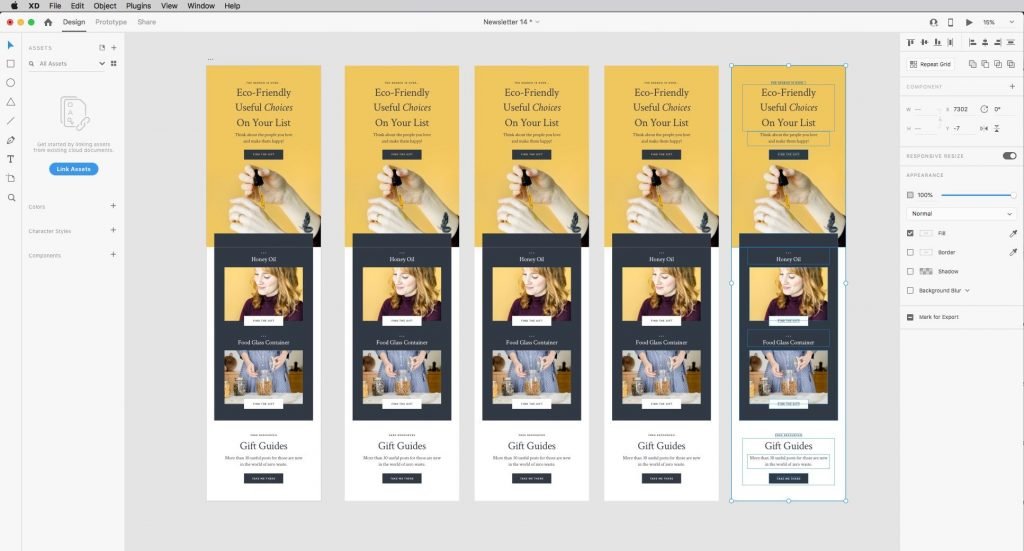
In this newsletter template example, we need 4 different links. So, we make 4 copies of the layout using the “copy” and “paste” buttons and dragging them side by side.
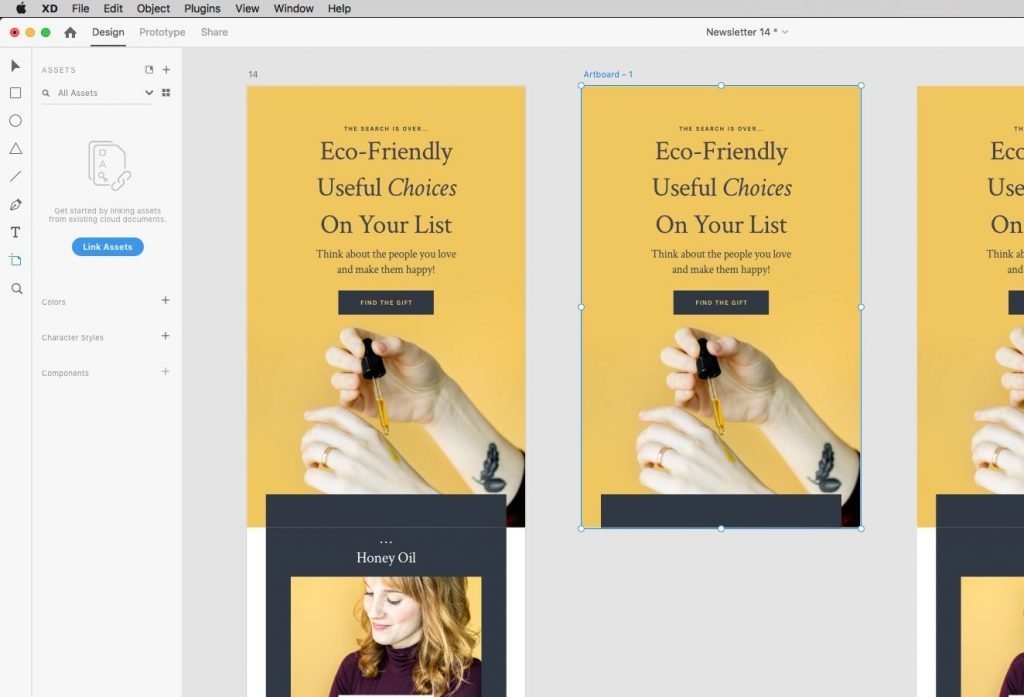
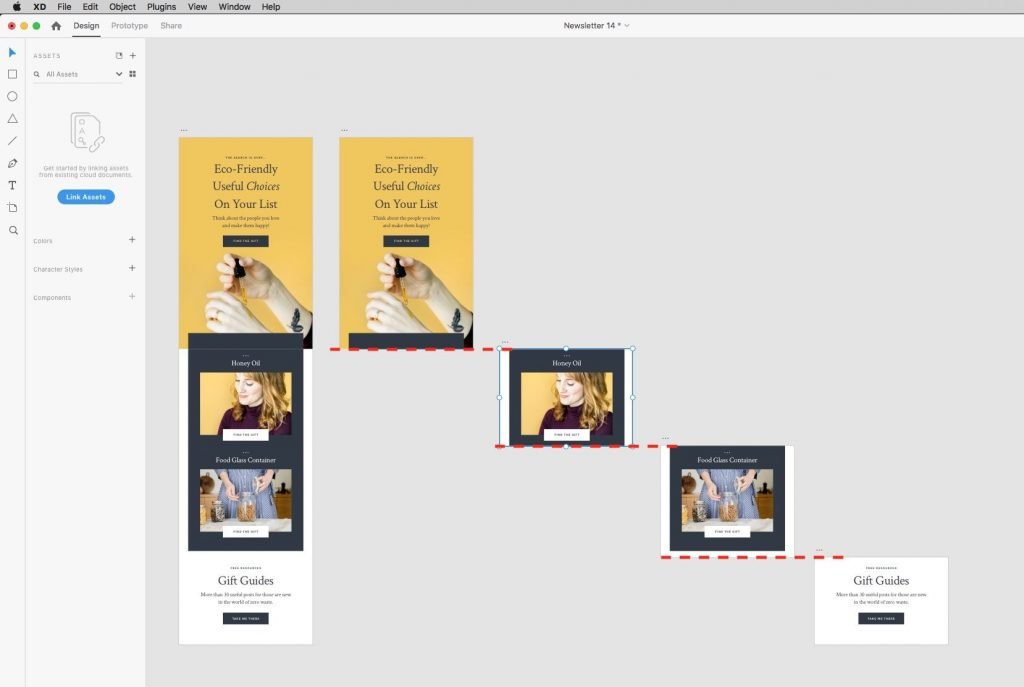
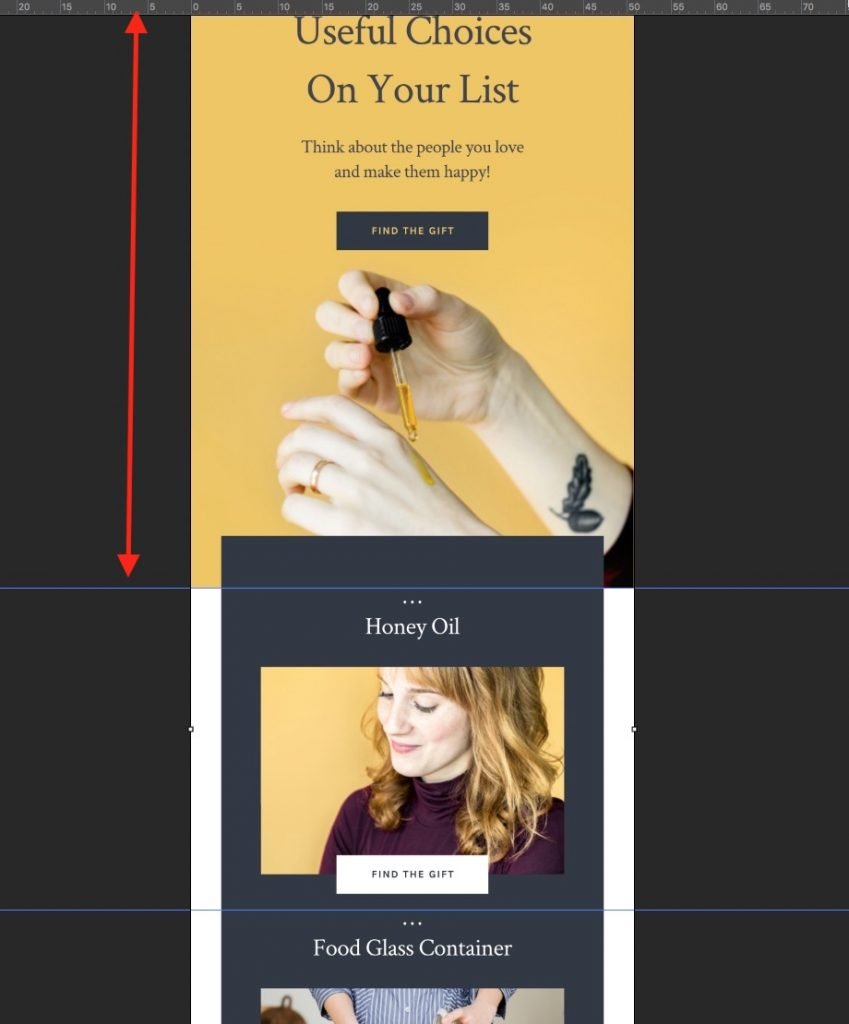
With the artboard tool, located in the left menu, we are going to delineate the sections that we need to export. To be precise, get help from the guidelines.
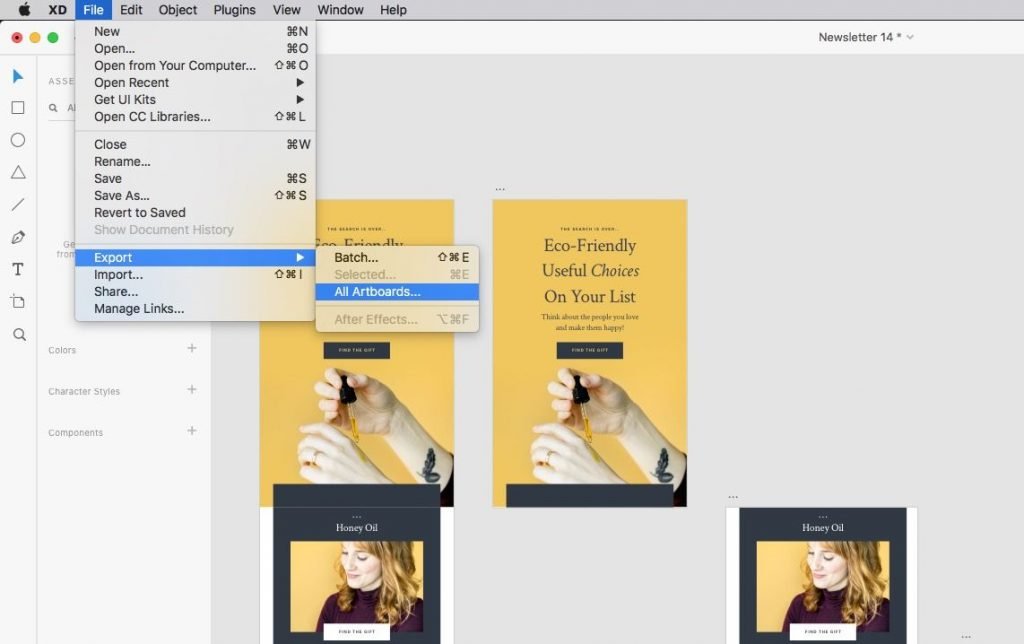
HOW TO EXPORT IN ADOBE XD
To export the files, go to File> Export> All Artboards.
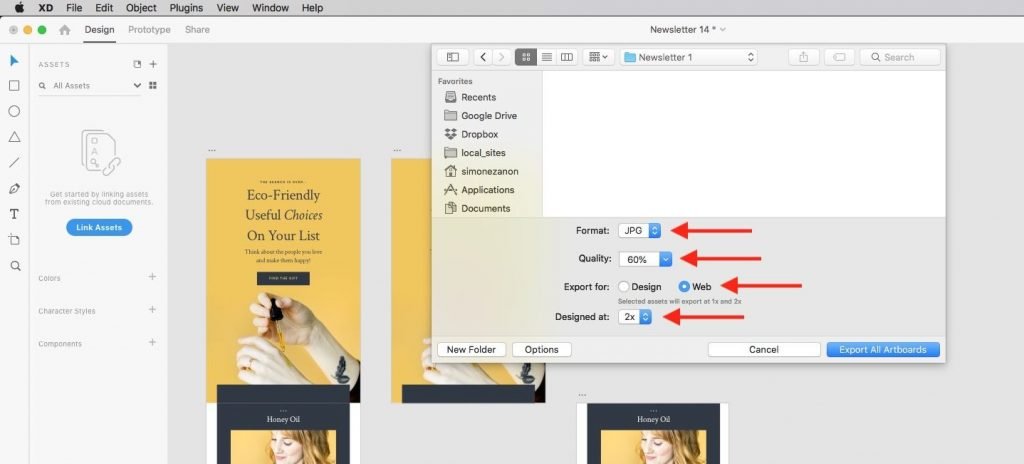
Make sure that the export path is the one you want. Choose the JPG format – Quality: 60% – Export for: Web – Designed at: 2x.
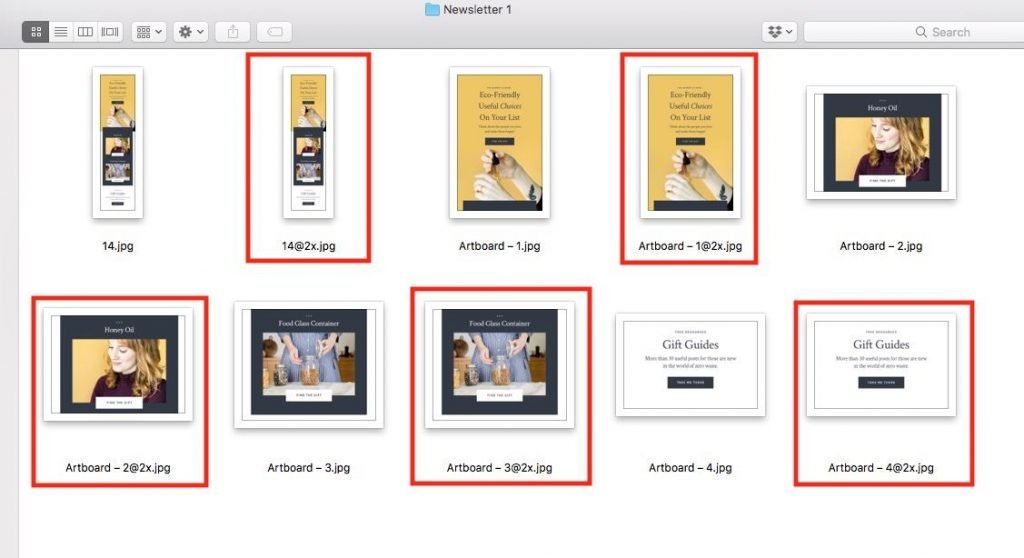
The files we are going to use will be those that contain @ 2x in their name. It means that the file is optimized for retina devices (the measurement is duplicated compared to the width displayed in the newsletter).
Well done! Now your images are ready to be uploaded to your email marketing service.
Customize and export with Photoshop
You can customize Newsletter Templates also with Adobe Photoshop. For this software, unlike Adobe XD, you will need to have a monthly subscription.
To start we have created a summary video that explains the division of sections and the export:
CUSTOMIZING COLORS AND REPLACING IMAGES
To customize the elements and text colors and replace the images using smart objects, watch the video tutorial below (this tutorial uses Instagram stories as an example but the concept is the same).
Once you have completed the newsletter with your colors, images, and texts, you need to share your layout with the classic Guides
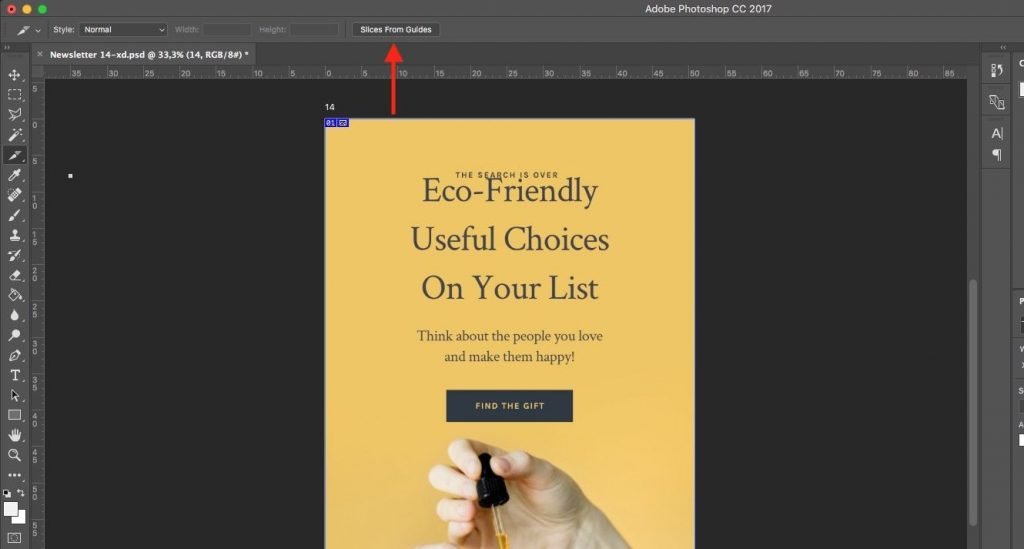
Then you have to select the Slice Tool.
After selecting the Slice Tool, push the button “Slice From Guides” (It will appear in the options bar). In this way the guidelines you see become true dividers that will “cut” the newsletter into sections.
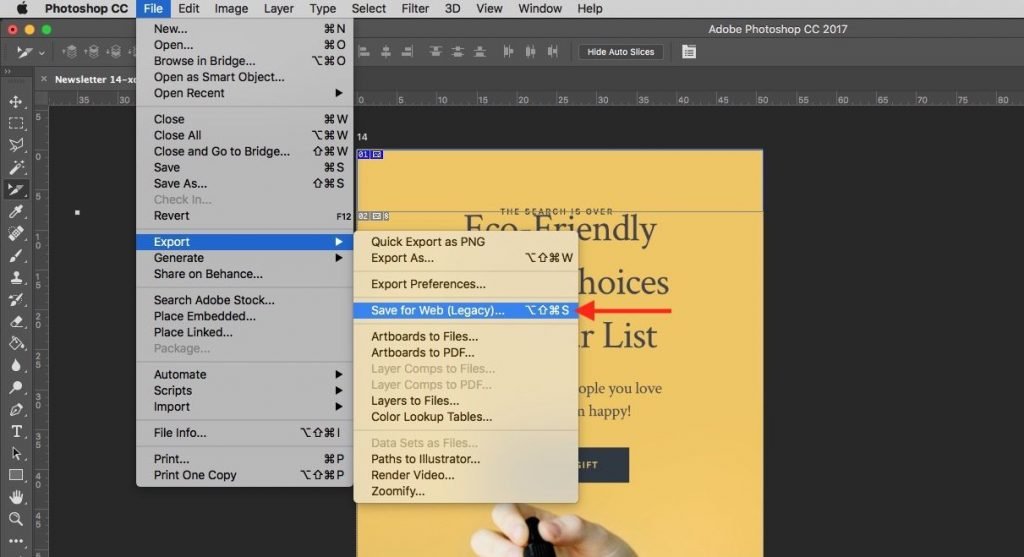
HOW TO EXPORT IN PHOTOSHOP
To export go to File > Export > Save for web
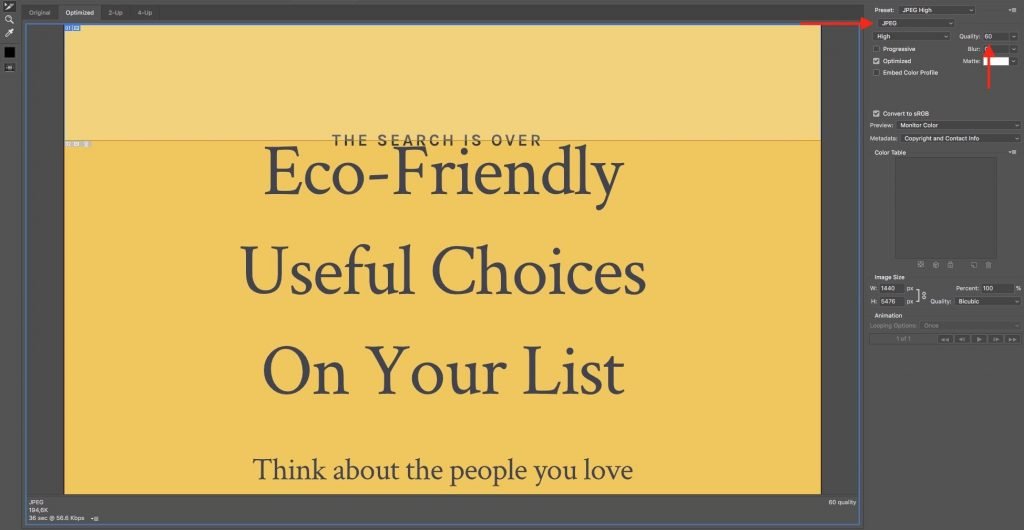
Choose the JPEG format and set the quality to 60 and then Save.
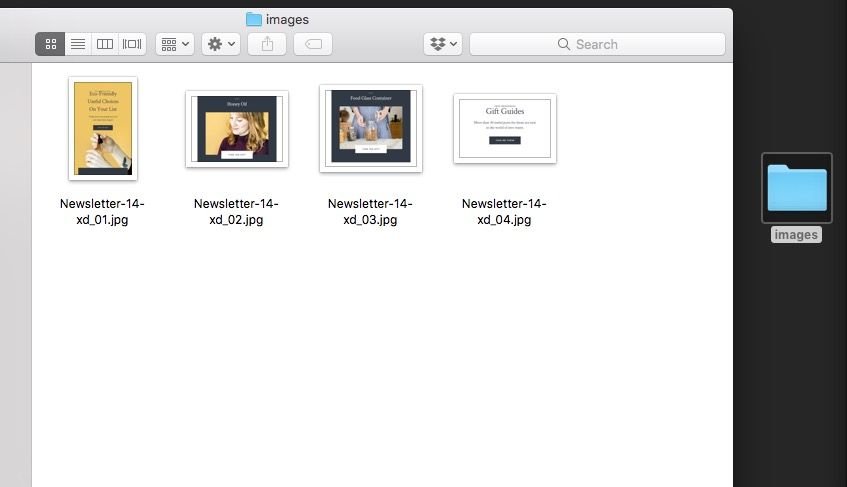
An “images” folder will appear on your desktop with all the sections of the newsletter in it.
Customize and export with Canva
To understand how to use our newsletter template on Canva I suggest you watch this tutorial that uses Instagram stories template as an example, but don’t worry, the process is the same sparrowandsnow.com/help/canva-templates
NB: If you want to cut the newsletter into several parts to be able to link different links, we suggest you use Photopea.
Photopea is free and works like CANVA, it is a service that you can use from your browser.
We have created a video tutorial that explains how to divide your layout created with CANVA.
Optimize images for web
After exporting the sections of your newsletter, we strongly recommend that you compress the .jpg files to reduce their weight and speed up the loading of the email.
We use https://compressor.io/ which allows you to compress the images directly from the browser.
Upload images to your email marketing service (Mail Chimp)
In this chapter, we explain how to upload images to your marketing service. We use MailChimp as an example but the same method is applicable to any mail marketing service.
Tips!
We recommend uploading an image of your brand logo to the top of the newsletter to make the sender explicit.
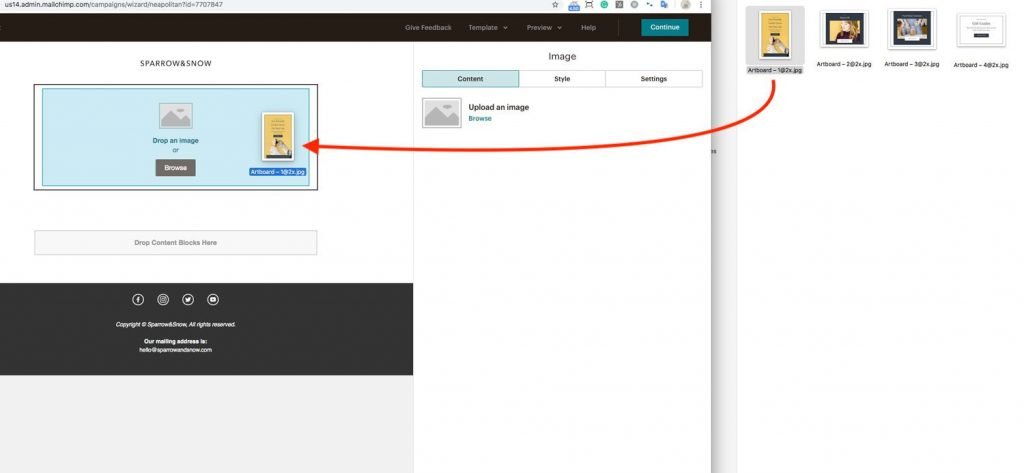
1 – After optimizing your images for the web, upload the first section.
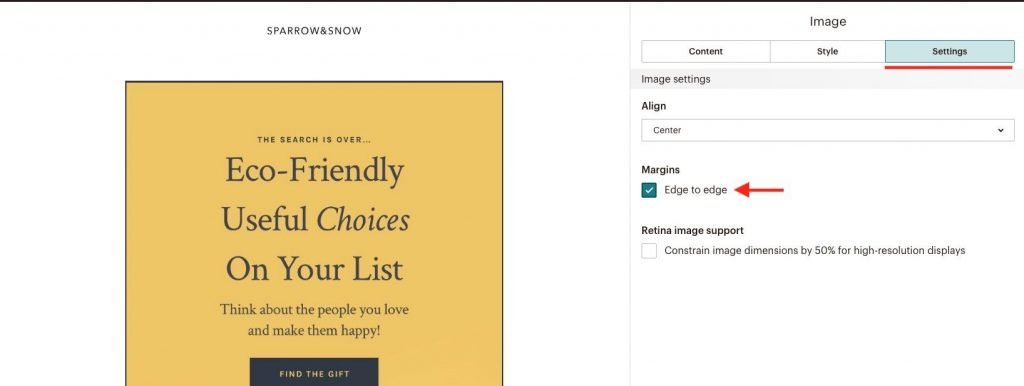
2 – Make sure there are no margins between one section and another.
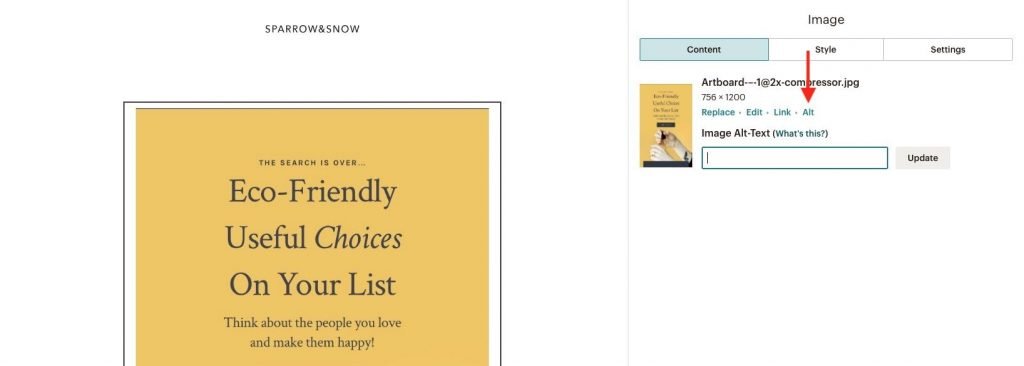
3 – For your email to comply with the standards, insert a correct description in the ALT tag.
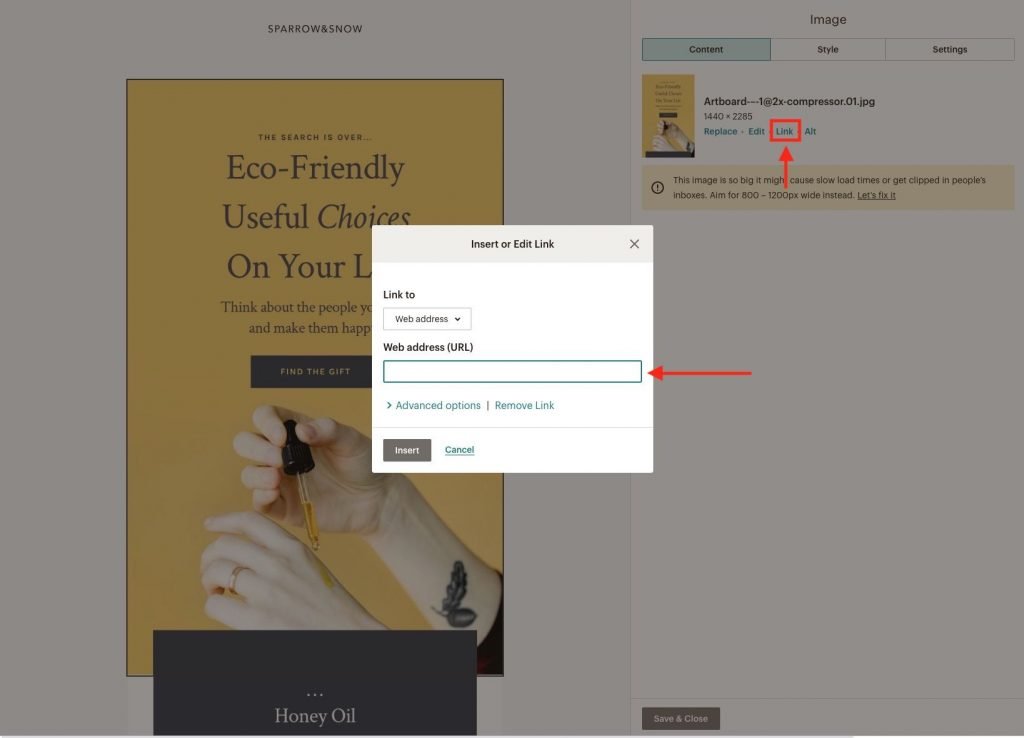
4 – We have come to the conclusion, all you need to do is upload your links in each section.