


Canva templates
Simple guide to using our CANVA templates
Intro
Accessing the Canva Templates
Inside the .ZIP you will download, you will find a folder called “Canva Links” which will contain a .PDF or .RTF file that includes links to access the Canva templates.
UPGRADE 2022: in the new products you will find a PDF file with direct links to canva “Save as template” without going through the google doc document.
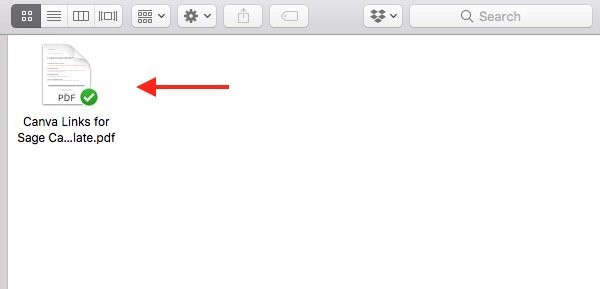
By opening the txt or pdf file you will find a google doc link that will allow you to access the list of canva links.By opening the txt or pdf file you will find a google doc link that will allow you to access the list of canva links
In the screenshot below you will see an example:

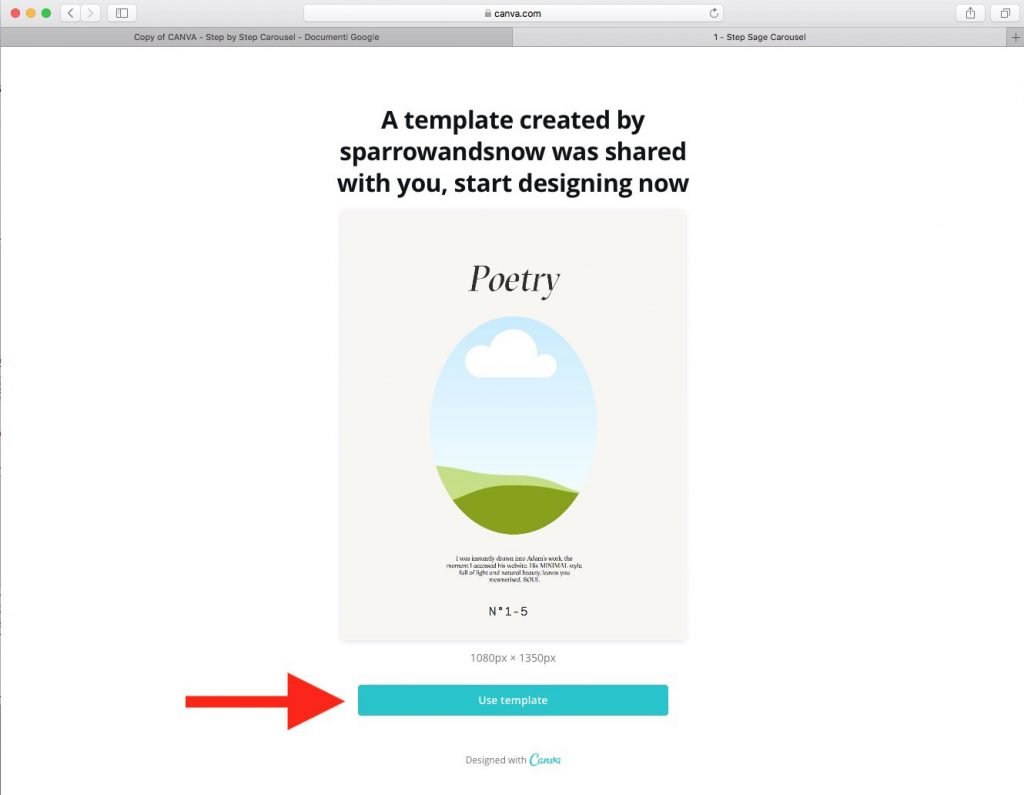
Clicking the google doc link you will open a page containing the canva links divided by formats.
Make sure you are logged in with your Google account “gmail” so you can use google documents
(In the image below you will see an example based on the “carousel template” product, obviously the same concept sails for everyone)

Last step, click in the desired layout and it will open a page with a visible “Use Template” button. Pressing this button will copy the template to your Canva account.
REMEMBER!
To use the templates on mobile devices you will need to open the designs on the desktop version first and “make a copy” to your Canva account before you will be able to edit on the iPhone or iPad app.
Uploading & Placing Your Images
As you open the layouts, you’ll have to upload your images to Canva.
To do so, head to ‘Uploads’ section in the left sidebar and click on ‘Upload and image’ or just drag and drop the images on the page.
To replace the images, simply drag them from the Canva left sidebar onto the image box set up in the designs. When you release the image, it will fill the frame. You can move the image within the frame by double-clicking on it and then sliding the image to adjust the positioning and zoom. To replace an image simply drop the new one on top of the existing.
Images with Texture Overlays
Some layouts feature an overlay texture.
To edit these layouts follow these steps:
- — Insert the image in the frame
- — Select the texture and stretch it to completely cover the layout
- — Shift-Click on the texture to deselect it
- — Done!
Editing Texts
Editing texts in Canva is really straight-forward, simply double-click on the text box and type in your own content.
The Canva interface will allow you to easily change the font, pick colours, edit size & spacing. Please note that the free version of Canva allows you to choose from a pre-determined selection of free fonts. May you need to use a custom font you will need to upgrade to the premium version.
Using Custom Fonts
Using custom fonts is a premium feature available only by upgrading to a ‘Canva for Work’ plan here.
Canva offers a free trial-month so you may want to try it out at no charge.
Our Paper Stories Social Media Kit uses a font that was not available as a free option on Canva, therefore we replaced it with a similar looking handwritten font. Follow the video tutorial below to learn how to upload and use the original font after you upgraded to ‘Canva for Work’.
To upload a custom font, head to the ‘Brand Kit’ section, and look for the ‘Upload new font’ field. Click on the button and select the font file from your computer.
Now navigate to your designs and open the Template you want to edit. Click on a text box and in the fonts menu you’ll find the fonts you uploaded.
Arranging Pages
You can easily handle each page with the tools that appear to the right of the page you’re on. You’ll be able to rearrange its order, duplicate or delete it.
Exporting your Designs
To export your finished designs click ‘Download’ in the top right corner. You’ll be able to select the file format, and the pages you wish to export.
For further support please visit the official Canva Support page to access their library of guides.